WooHoo! Classes are finally over for the semester! So you may ask what have I been doing that I was so busy that I wouldn’t post anything new to my blog? Well, I’ll tell you. I was spending my days catching up on house work that I had neglected while in classes. But yesterday I took a day off of cleaning and spent it baking and playing with different cake ball ideas.
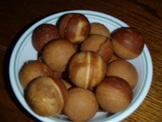
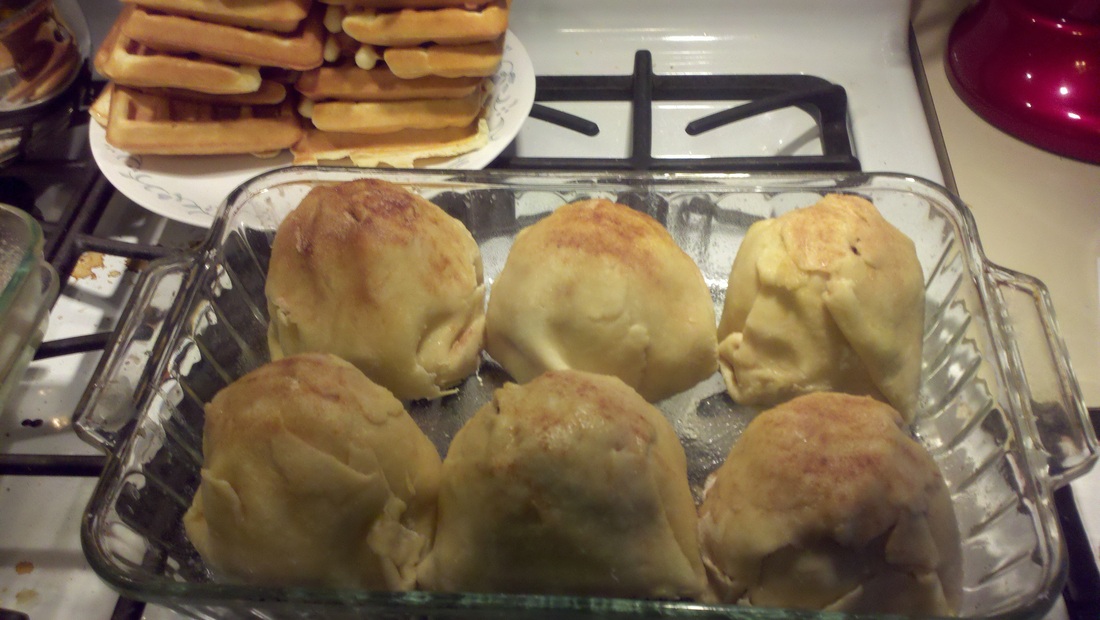
I made Orange cake balls that I am hoping to create Orange Dream Cake balls with. I finally got the cake perfect! Next is to create the sweet whipped frosting to inject, yes inject, into the center of the cake ball. I also made French Toast donut holes, mmm they were so yummy. I couldn’t believe that they actually tasted like French toast, I even injected a few with syrup.
I also experimented with something called an Ebelskiver, it is a Danish pancake. I made Lemon Blueberry and Milk & Cinnamon Ebelskivers. The
Milk & Cinnamon tasted a lot like the French toast cake balls but didn’t maintain their round shop like the French toast balls. I was less than happy with the Lemon Blueberry, they flattened in shape and smelled way to much like sour cream for my taste. I think I will try them again but with the lemon cake
pop recipe. I’m sorry that I don’t have pictures of the Ebelskivers, my boyfriend took them into work today.
Now back to cleaning for a few days and then more baking.
Okay, so years ago before I saw the light of cooking from scratch and healthy eating I used to buy box mixes for both baking and dinners. Sad, I know. But I have had a few pretty delicious things like that. One of which I continue to make today, only now I make it from scratch and not a box. It was called Taco Bake, which I still call it.
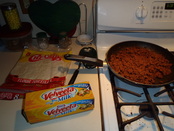
What is Taco Bake you ask? It’s fairly simple. First you must gather your ingredients. A minimum of one pound ground beef, I prefer two pounds, velveeta or any cheese that you prefer, soft tortilla shells and salsa if desired. First step is to cook the ground beef. Once the ground beef is cooked the whole way through you season it with taco seasoning, which you can find in almost any grocery store with the taco ingredients. After the meat is cooked and seasoned you can mix the salsa in if desired. From this point on it is simply a matter of layering everything.
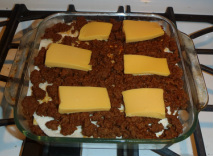
You start with a flour tortilla on the bottom of an 8x8 or 9x9 square baking dish. Next you scoop some of your taco meat on top and finally finish that layer off with a few slices of cheese. Repeat the layers until you run out of taco meat.
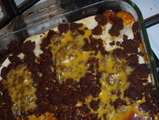
Once finished layering bake the Taco Bake at 400 degree for 20 to 30 minutes. Time to enjoy! Top with sour cream and lettuce or eat it just like it is. The best part about this dish is that you can enjoy it however you like just as you would a taco.
So I had a family picnic on Saturday at a log house with my whole family and a bunch of family friends that my Aunts, Uncles and Dad grew up with.
I always bring a dessert and this time I wanted to make something fun since it was a picnic and the weather was to be 77 degrees and sunny, in other words a gorgeous day!
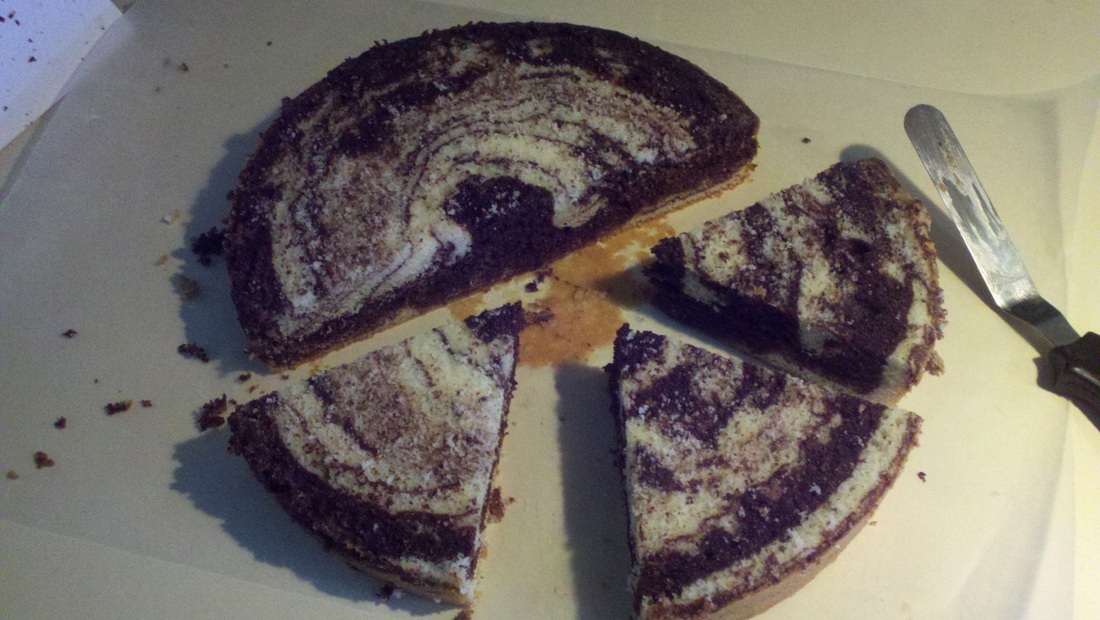
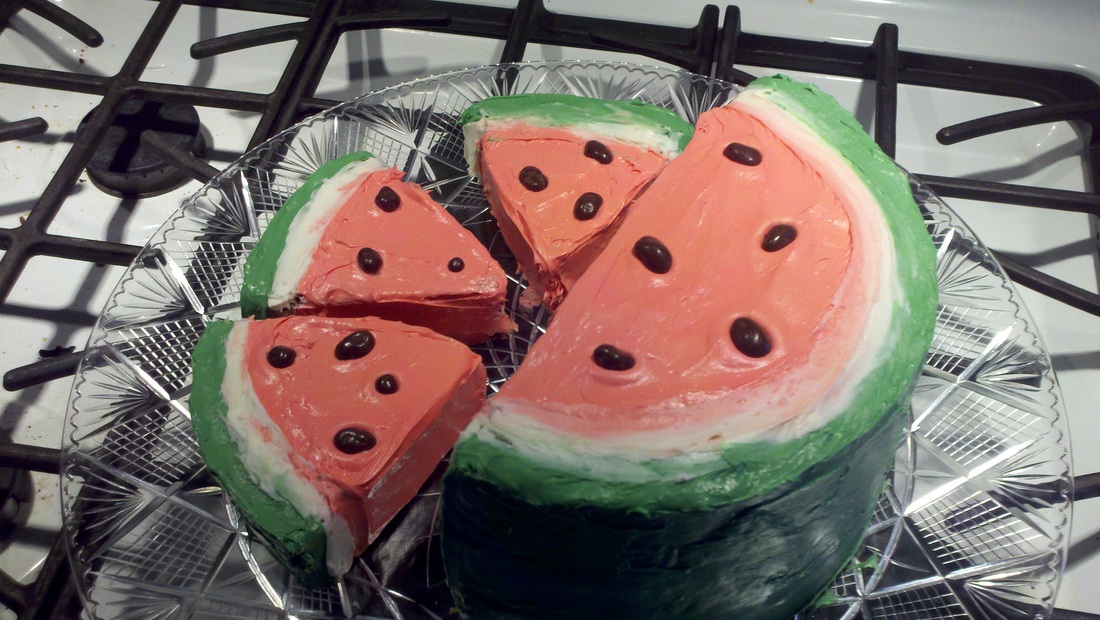
I chose to bake a cake and decorate it to resemble a watermelon, which also happens to be my son’s favorite summer snack, the watermelon not the
cake. Anyway I wanted to make it different and not the usual. So I opted to make a 3 layer half circle cake with vanilla cake on the bottom and top and chocolate cake in the middle. I did a marble type effect for the three additional slices of 'watermelon.’
Once baked I let the cakes cool before cutting them, while they were cooling I tinted the vanilla whipped frosting three different colors. Red, Dark Green and Light Green, I left some white to dirty ice the cake. Once ready I piped the colors on to the cake and slices to make it look like watermelon. After it was frosted I used raisinets for the seeds. I was so happy that it turned out as nice as it did and it was a hit at the party!
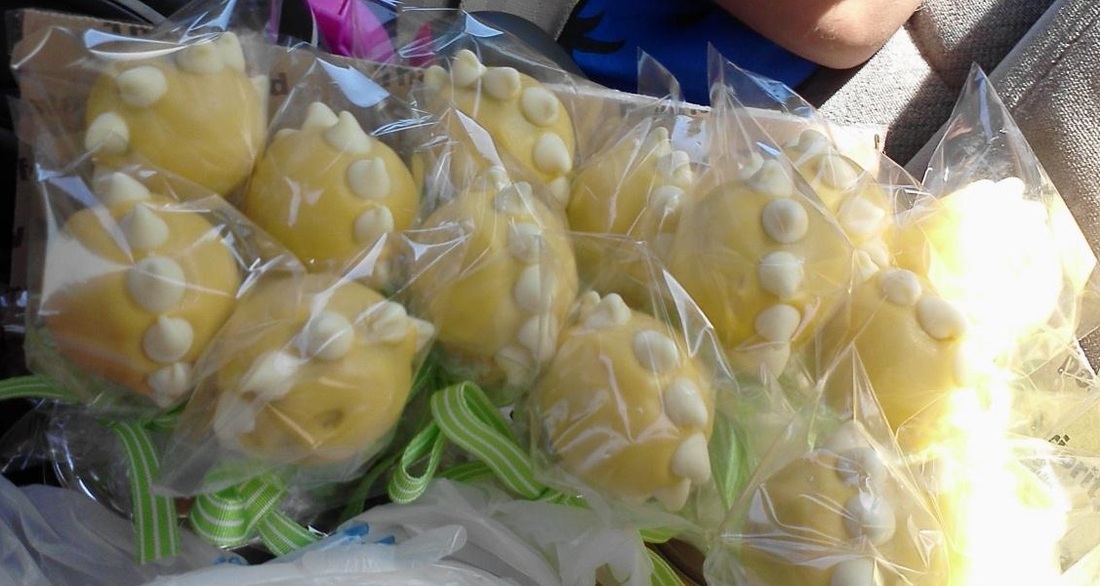
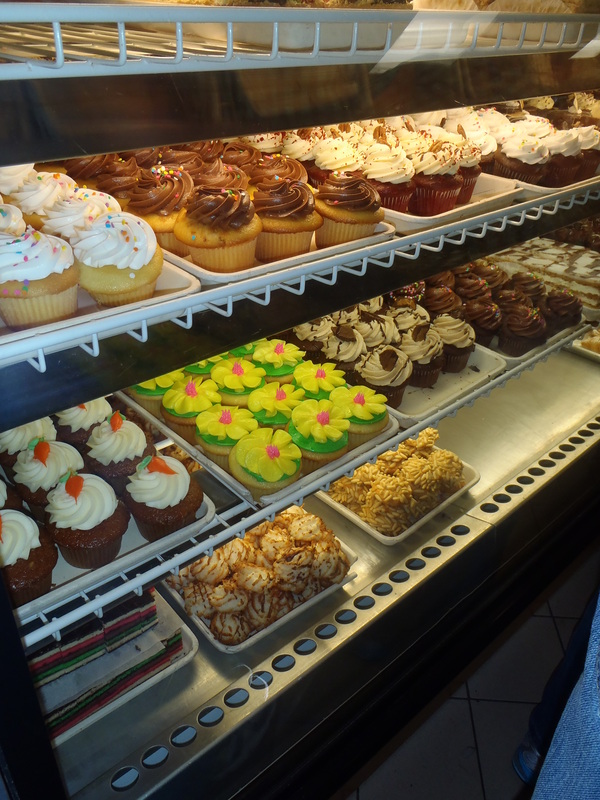
In light of the beautiful weather that we have been having at home (Dover, PA) I wanted to make a fun cake pop that was also refreshing. I opted to attempt lemon, orange and strawberry cake pops. The strawberry cake pops and orange cake pops had GREAT flavor but the tops didn’t rise enough to
be completely round. :-(
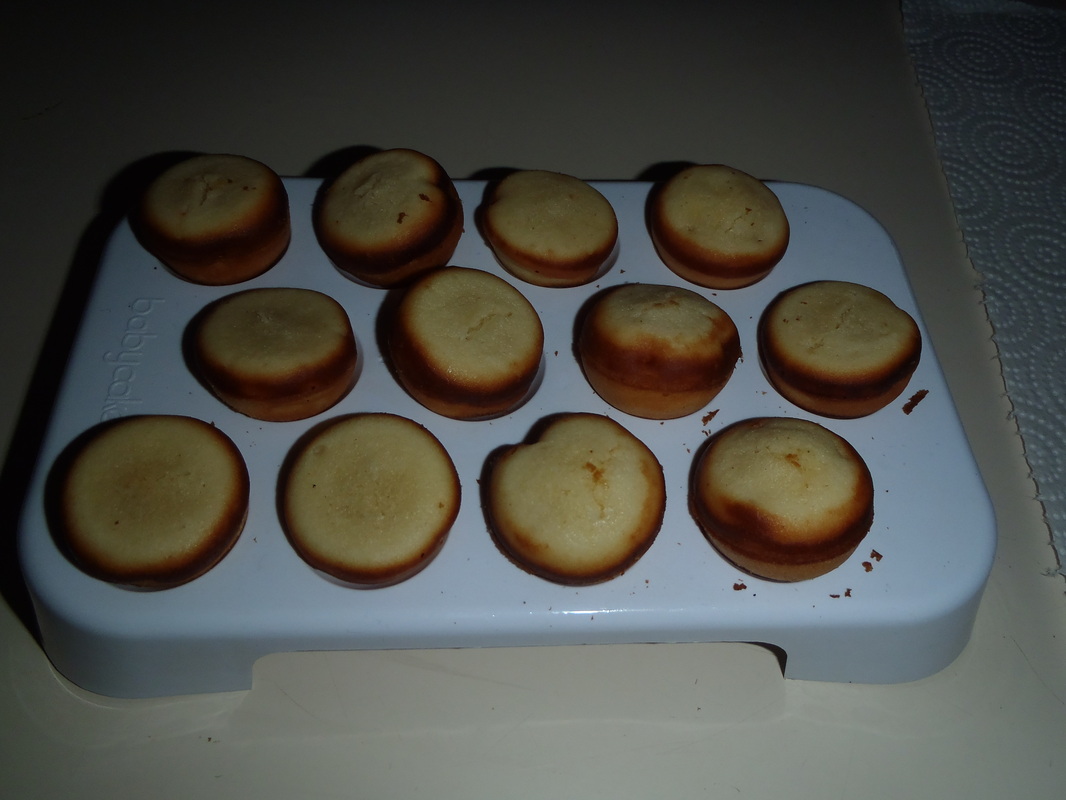
Orange Cake Balls
|
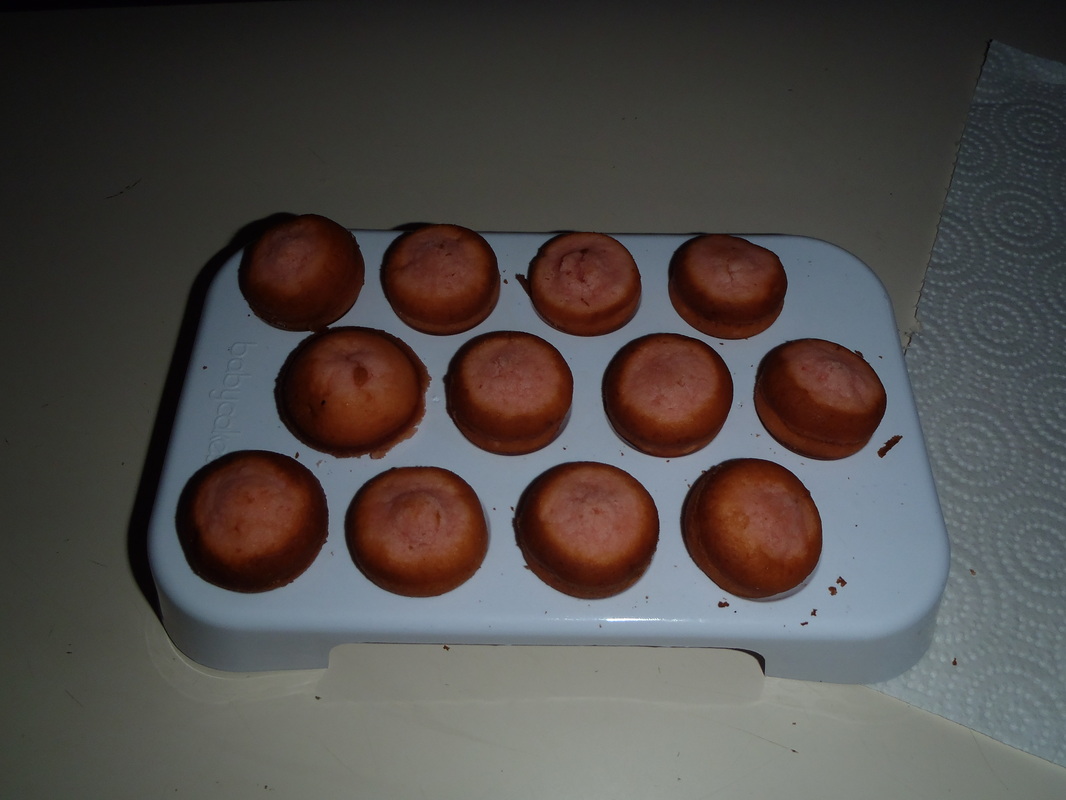
Strawberry Cake Balls
|
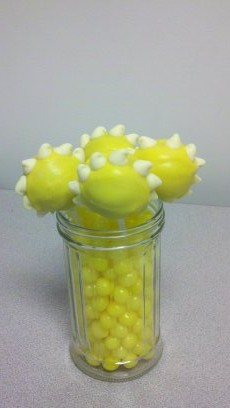
The lemon cake pops cooked perfectly! Once they were cooled I dipped the sticks in yellow chocolate and placed them in the cake balls. After that the cake pops went in to the freezer to get cold and hard. It is a lot easier to dip them in the chocolate when they are frozen versus roomtemperature. Once cold I started dipping them in yellow chocolate one by one and decorating them with white chocolate chips to look like a sun. Although looking at them now I’m not sure if they resemble a sun or a flower, I’ll let you be the judge. After all of the lemon cake pops hardened I put them in individual bags and tied a green ribbon around the base. They were then placed in mason jars filled with lemon heads and sugar shakers also filled with lemon heads.
I look forward to experimenting with the orange and strawberry some more until I can get them perfect! My goal with the orange is to get them to taste like a creamsicle or orange dream cake.
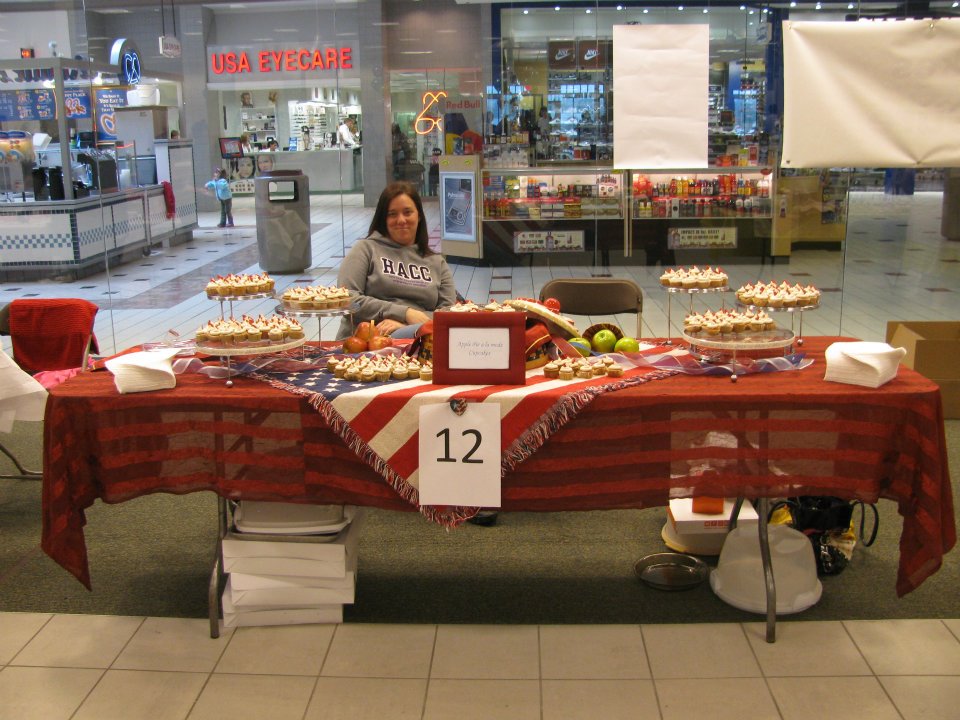
In March I became aware of a benefit for the Leukemia &
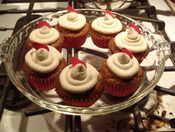
Lymphoma Society called Cupcakes for a Cure. It was to be held at a local mall and included a lot of bakers and vendors for products like Eye Candy and Scentsy. There were amateur and professional bakers, we each had to provide 300 tasting pieces for the public, 6 regular size cupcakes for the judges and 6 regular size cupcakes for each of our displays. I chose to make an Apple
Cupcake with a Vanilla Bean Buttercream frosting. Getting the cupcake just right took a few attempts and the frosting, well let’s just say that I kept adding vanilla bean paste until I felt it tasted like ice cream. I finally had the recipes perfect in just enough time to start baking 300 mini cupcakes and
12 regular size cupcakes. I chose to decorate the cupcakes with a red chocolate drop of blood, that is the LLS symbol on their website. Next was to figure out how to decorate my table. For that I looked to my mom for advice and boy did she have a great idea! She came up with the Americana theme that we used. The evening before the event my mom, stepdaughter, and I went and decorated the table.
The day of the event was finally here and I was beyond nervous, especially when I was informed that I was being grouped with the professionals
and not the amateurs. I was/am in no way at the level of the other professionals but I did my best and smiled the whole time. Soon it was time for the judging and I had to speak into a microphone….I hate public speaking I get incredibly nervous! But I was also hopeful because of all of the compliments that I was receiving from the people that tried my cupcakes.
At the end of the day, after 8 hours of biting my nails, greeting people, and talking about my cupcakes it was time for the winners to be
announced. The bakers were judged on taste and appearance.
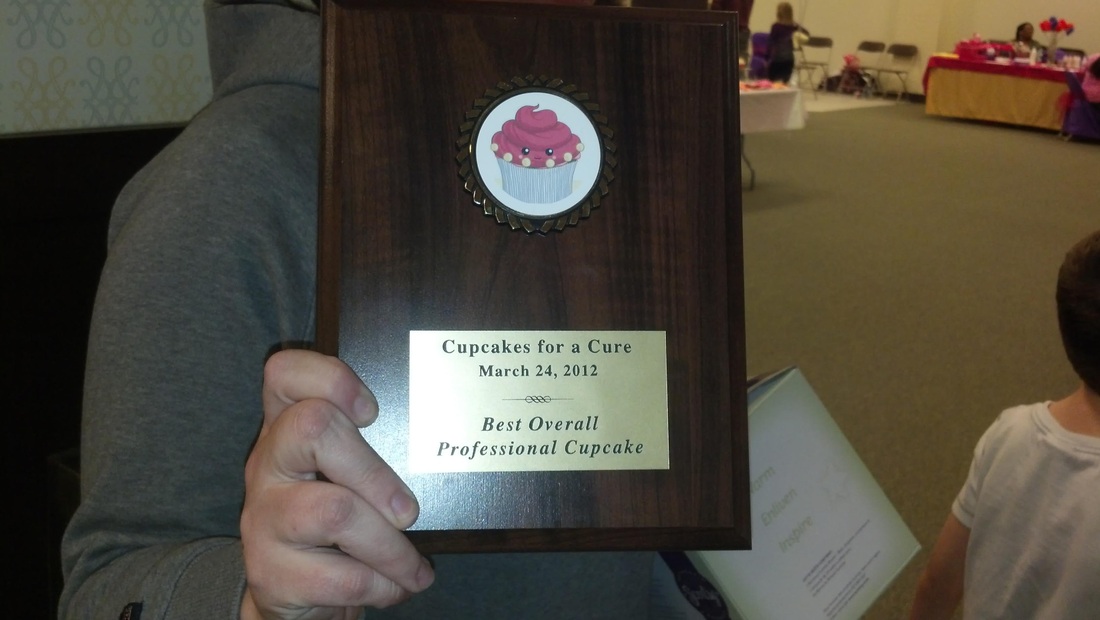
I won Best Overall Professional Cupcake!!!!!
I couldn’t believe it, I did it!!!!! Oh yeah, my
cupcakes were called Apple Pie a la Mode :-)
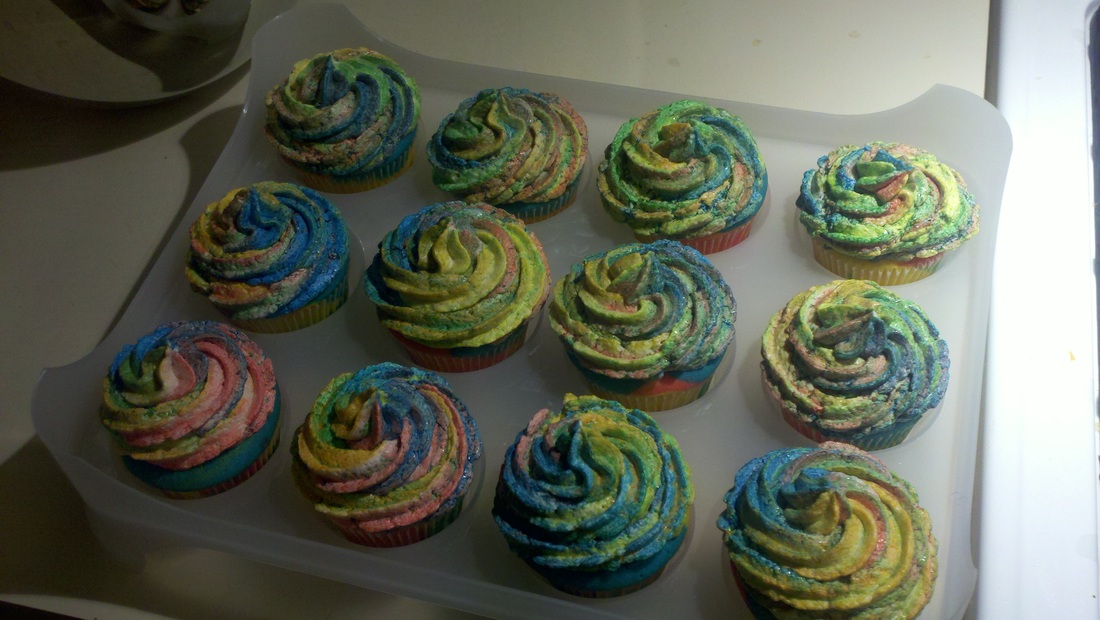
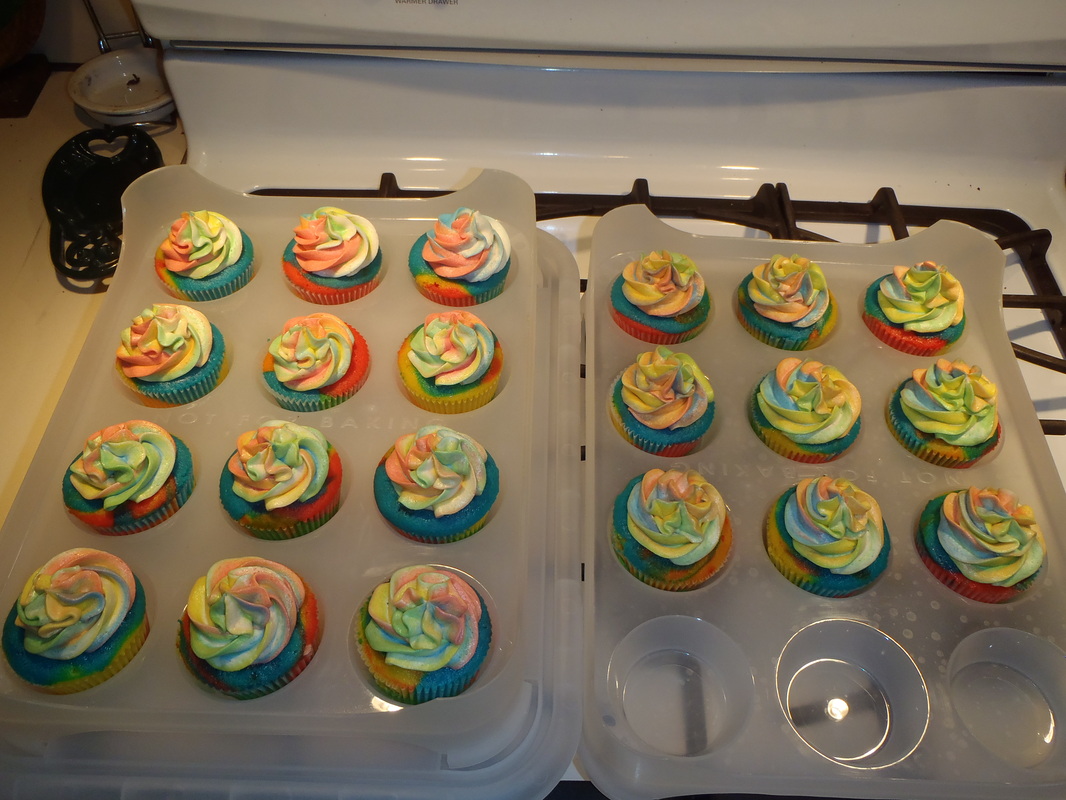
My son’s 7th brithday was February 20 and he asked me to make cupcakes for his 1st grade class. I of course told him that I would and when I asked him what kind he wanted he immediately said that he would like Tye Dye cupcakes. So we looked online and got a few ideas for the colors and got to work. I used Red, Blue, Green, Yellow, and Orange gel dye to color the vanilla cake batter as well as the vanilla buttercream frosting. It was fairly simple to do. I seperated the batter equally among 5 bowls and mixed the colors in. Baked them until done and
proceeded to work on the frosting. The frosting was a little bit trickier to get it to swirl but as you can see in the pictures I was able to do it! We were both
excited to see the finished product and my son couldn’t wait to try them.
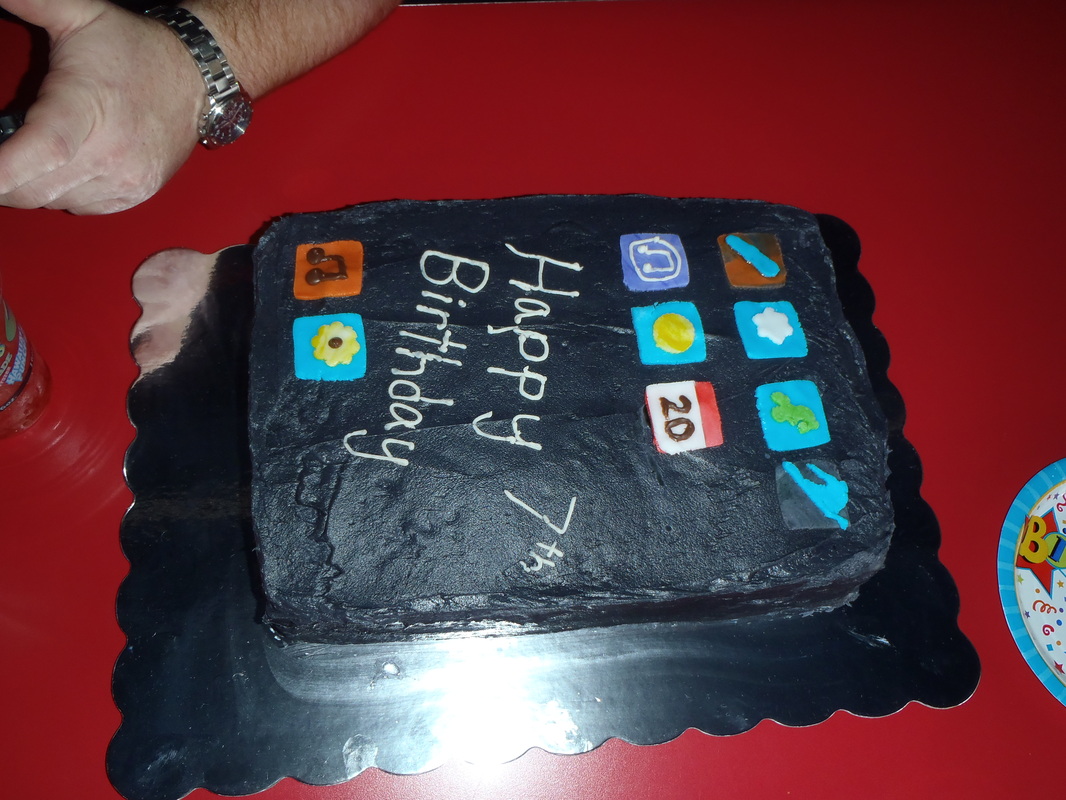
For his birthday party he made a more difficult request by asking me to make an iPod Touch cake! But I managed to do it. Although I wished it would have turned out better than it had but everyone from the parents to the children loved it.
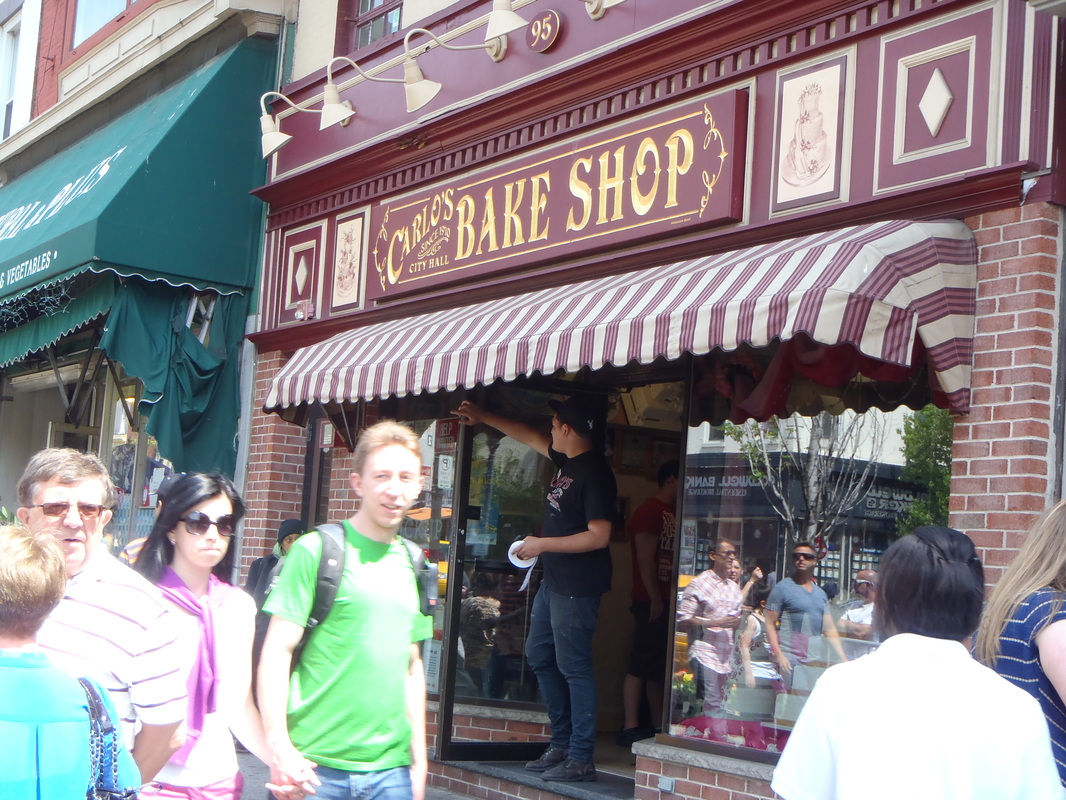
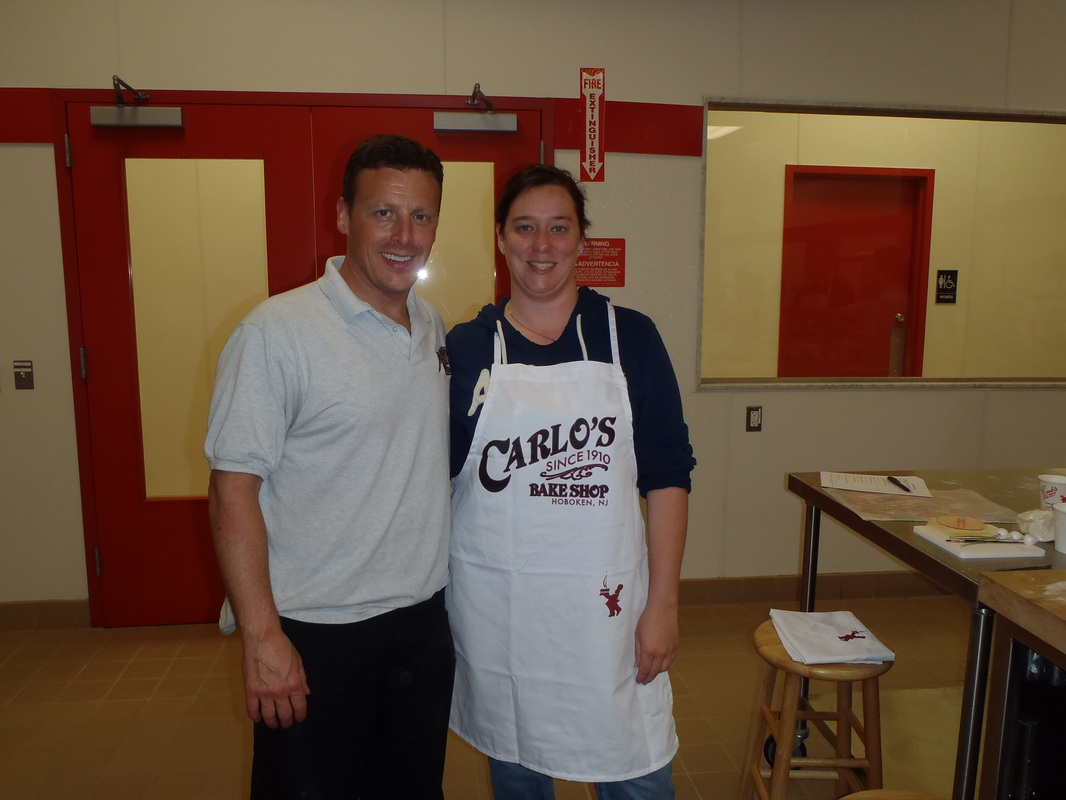
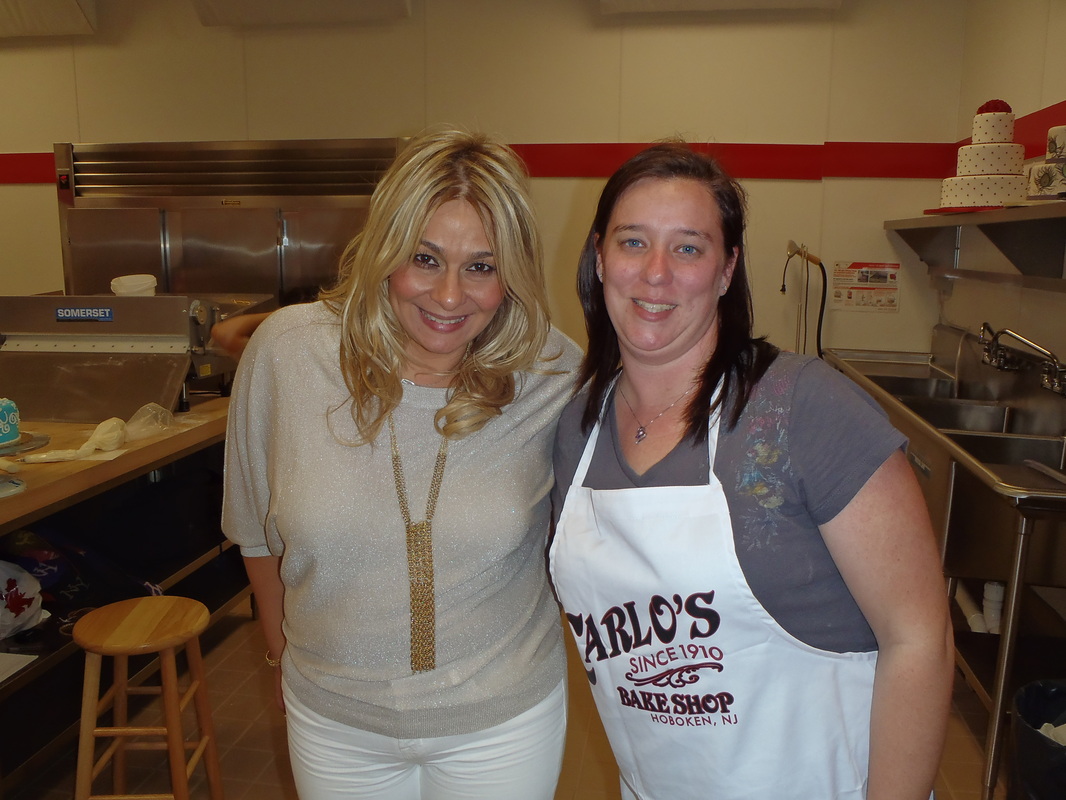
On April 21st 2012 I attended two decorating classes hosted by Carlo’s Bakery(Cake Boss on TLC) at their Lackawana building. It was a birthday gift
from my boyfriend, and it was one of the best gifts ever! I had fun meeting new people and learning new skills that I can put to very good use. My first class was how to make gum paste roses and I got a lovely surprise when Buddy Valastro’s Brother in Law Joey popped in to say hi. My second class was piping on fondant and I got another surprise when Buddy’s sister Mary stopped by. Sadly I did not get to meet Buddy.
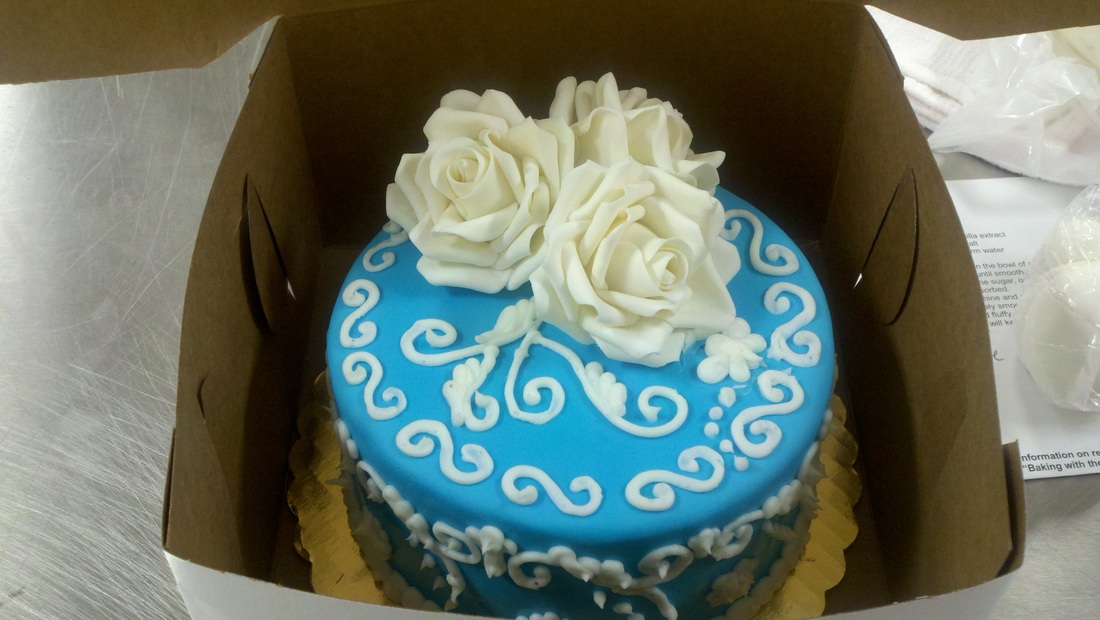
My finished product was a 2 layer 6 inch cake covered with blue fondant, piped with white buttercream frosting and finally I placed my three white roses on top!
7PU27SKJCK2Z - This is just a code to verify that I am the author of my blog for Technorati.
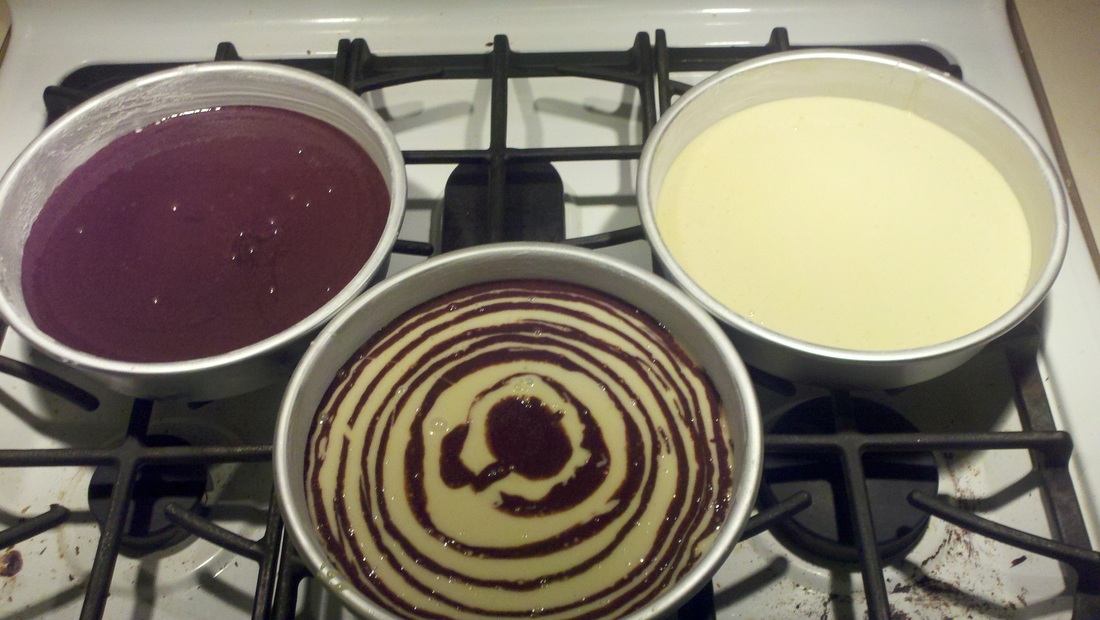
For months I have been wanting to experiment with my 9 inch cheesecake recipe and see how many 4 inchers I could get out of it. So yesterday I finally got the chance to do just that! I had all of my ingredients prepped and ready to go. I decided after making the filling that I didn’t want all of my mini cheesecakes to be plain. So I prepped the four 4 inch springform pans that I have and separated the cheesecake filling into four bowls. I added mini
chocolate chips to one bowl and lemon zest to another. I poured each bowl into a springform pan. I added a few drops of raspberry preserves to the top of the third cheesecake leaving the fourth plain. Now I was ready to put the mini cheesecakes in the oven and bake them. They baked for 40 minutes. During that time I worked on another recipe of mine, but that is for a different blog entry. When it was time to pull the cheesecakes out of the oven I was slightly disappointed when I saw that two of the cheesecakes overflowed. I came to the conclusion that I am able to get five of the 4 inch cheesecakes out of my 9 inch recipe.
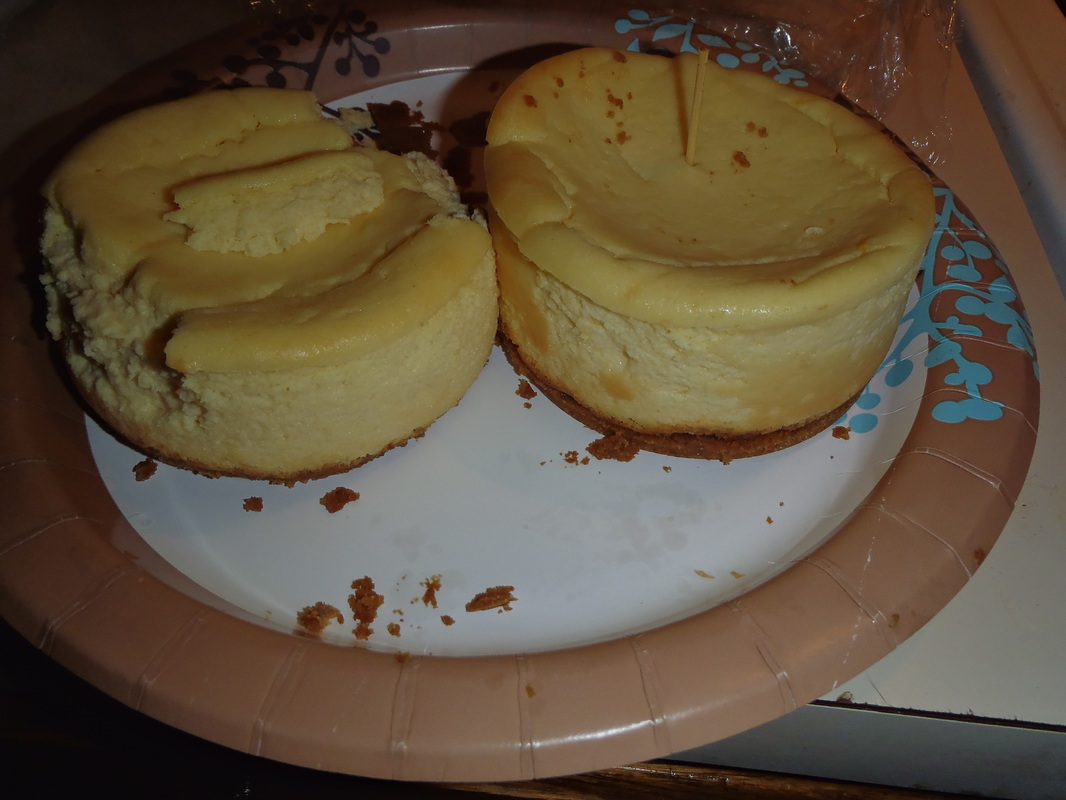
Plain on the left, Citrus on the right
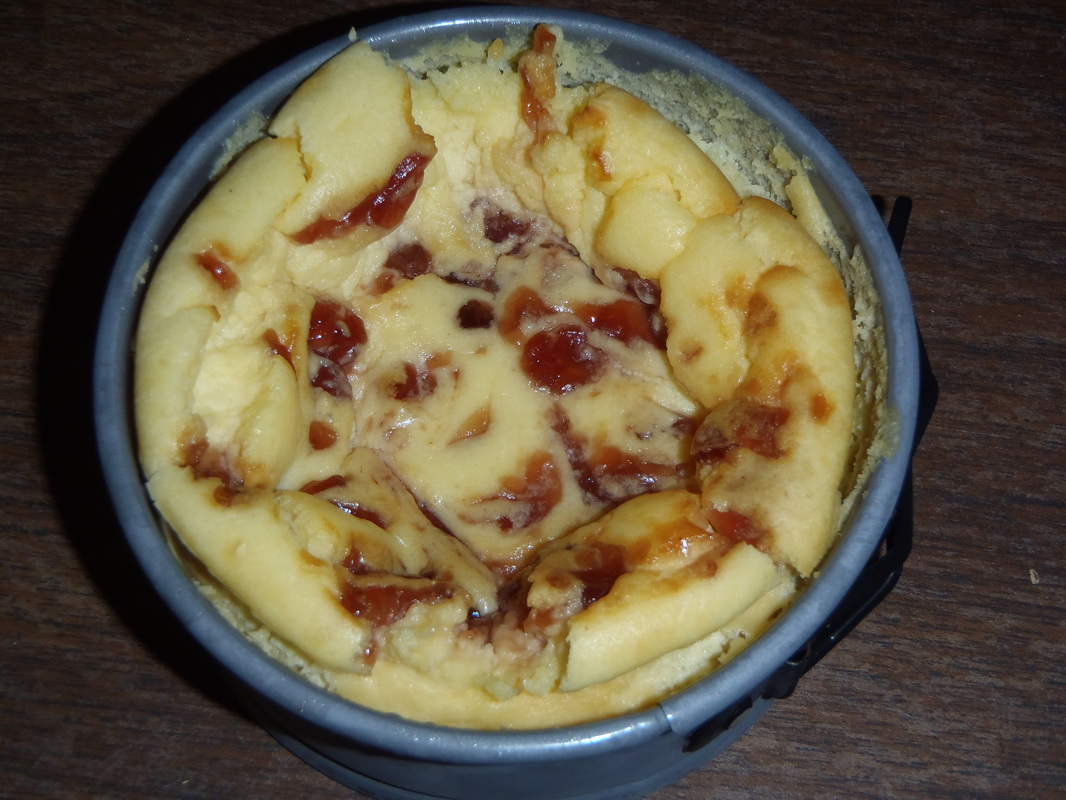
Raspberry
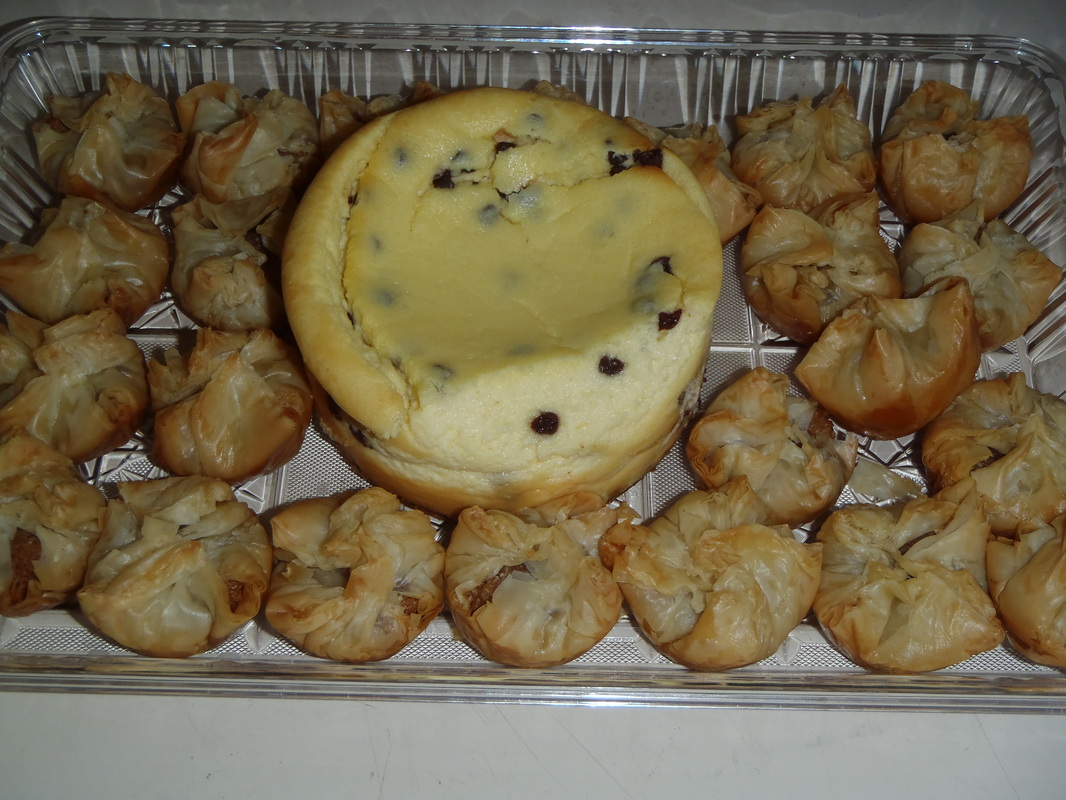
Chocolate Chip accompanied by Italian Baklava
Hi, my name is Katie and this is my very first blog so please be patient with me. I am by no means an excellent or even great writer but I will try my best. I am a single mom, my son was born in 2005, as well as a student and a baker. My son is my life and through him is how I discovered my passion and talent for baking. I started out by making chocolates when he was almost two years old and it was mostly to occupy my time after he would go to bed. Then
that progressed to baking, and I loved it so much that I started collecting recipes. After a while my family and friends were encouraging me to go back to college and pursue a baking degree. After a lot of thinking I decided that when my son started Kindergarten that I would go back to school, and that is exactly what I did. Since then I have been looking for new recipes and experimenting with them. My goal is to open a bakery in the York/Dover PA area (where I live). You can see what I am capable of making on my blog, my website, and my Facebook
Fan Page. I hope that you like what you see!


 RSS Feed